
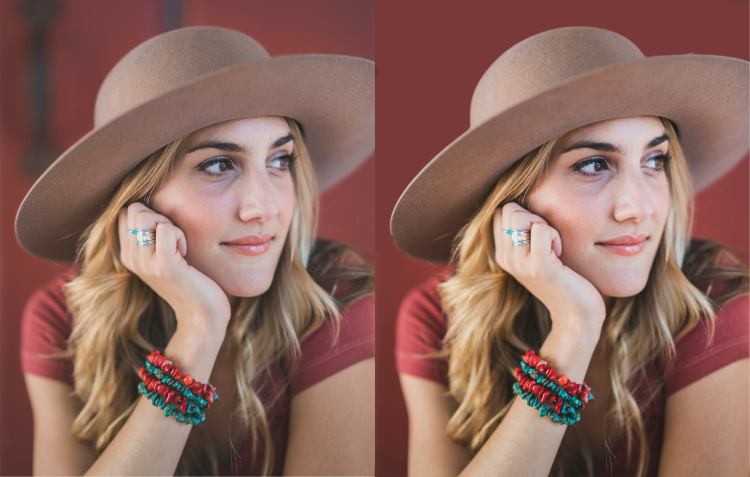
In this image, we are removing the distractions on the background by painting in a solid color.
We will make a selection of the hat so that we can freely paint around the hat with a solid color.
Paint Background with a solid color
- Chose the Quick Selection Tool
- In the options bar, make sure you click on “add to selection”
- Click and drag on the area you want to select
- On the option’s menu click “Select and Mask”
- On the new window select Smart Radius 2 px
- Smooth 19
- Feather 0
- Contrast 9%
- Shift Edge +8%
- On the upper menu go to Select
- Chose “Inverse.” At this moment, everything but the hat is selected
- Create a new layer
- Click on the Eyedropper Tool and take a sample color from the background
- Click on the color you want to sample
- Pick the Brush Tool
- Paint over the areas you want to cover with the color
- On the upper menu, go to Select
- Click on Deselect. That’s it!
Adjust Color and Tone
- Under the adjustments panel click on Curves
- Drag line down (a little bit) on the lower half to increase contrast
- Drag line up (a little bit) on the upper half to make it lighter.
Previous Editing
Comments
One response to “Painting in a solid color into the background and adjusting tone”
[…] Painting in a solid color into the background and adjusting tone […]